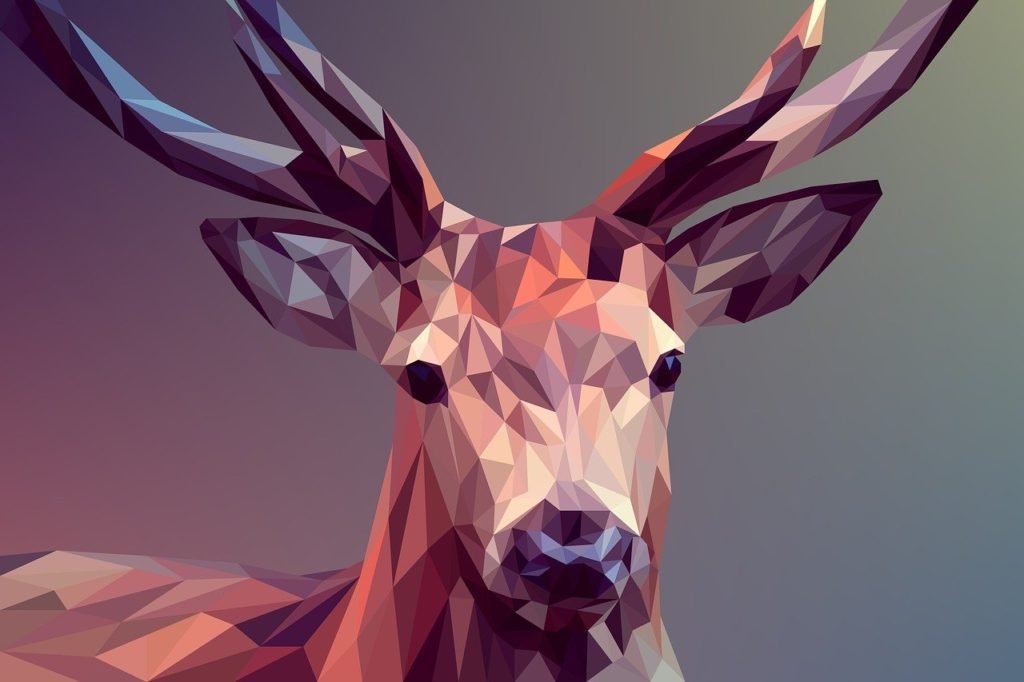
The pixel stretch effect is a captivating visual technique that distorts and stretches the pixels of an image to create a surreal and dynamic look. This effect gives the impression of motion and energy, making it a popular choice for digital artists and designers. In this step-by-step guide, we’ll walk you through the process of creating a pixel stretch effect using Adobe Photoshop.
Resources
Step 1: Choose Your Image
Start by selecting an image that you want to apply the pixel stretch effect to. Keep in mind that images with clear lines, strong contrasts, and bold colors tend to work best for this effect. Import your chosen image into Photoshop by going to “File” > “Open” and navigating to the image file on your computer.
Step 2: Duplicate the Image Layer
In the Layers panel (usually located on the right side of the screen), right-click on the image layer and select “Duplicate Layer.” This will create a copy of your image layer, which you’ll use to apply the pixel stretch effect without altering the original image.
Step 3: Apply the Motion Blur Filter
With the duplicated layer selected, go to the top menu and choose “Filter” > “Blur” > “Motion Blur.” In the Motion Blur dialog box, you can adjust the Angle and Distance settings. The Angle determines the direction of the stretch, and the Distance controls the length of the stretch. Experiment with different settings to achieve the desired effect. Click “OK” once you’re satisfied.
Step 4: Create a Layer Mask
In the Layers panel, click on the “Add Layer Mask” icon (it looks like a square with a circle in the middle) while having the duplicated layer selected. This will add a layer mask to the duplicated layer. A white thumbnail will appear next to the layer thumbnail in the Layers panel.
Step 5: Use the Gradient Tool
Select the layer mask thumbnail in the Layers panel. Make sure your foreground and background colors are set to black and white, respectively. If they’re not, you can press the “D” key on your keyboard to reset them. Choose the Gradient Tool from the toolbar on the left side of the screen.
Step 6: Apply the Gradient to the Layer Mask
With the Gradient Tool selected, click and drag on your image to apply the gradient to the layer mask. The gradient will determine the areas where the pixel stretch effect is most intense and where it gradually fades out. Dragging from one side of the image to the other will create a smooth transition.
Step 7: Adjust the Opacity
Depending on the intensity of the effect you want to achieve, you can adjust the opacity of the duplicated layer. Lowering the opacity will make the effect more subtle, while increasing it will make it more pronounced. You can adjust the opacity using the Opacity slider in the Layers panel.
Step 8: Fine-Tune with Brushes
To refine the pixel stretch effect, you can use the Brush tool with a soft brush to manually paint on the layer mask. Using a black brush will reveal more of the original image, while using a white brush will bring back more of the pixel-stretched effect. This allows you to have precise control over where the effect is applied.
Step 9: Add Adjustment Layers
For further creative control, consider adding adjustment layers such as Curves, Color Balance, or Hue/Saturation above your pixel-stretched layer. These adjustment layers allow you to modify the colors, tones, and contrasts of your image and the pixel stretch effect separately.
Step 10: Finalize and Save
Once you’re satisfied with the pixel stretch effect and any additional adjustments you’ve made, take a moment to review your image. If everything looks great, it’s time to save your work. Go to “File” > “Save As” and choose your desired file format and location.
Congratulations! You’ve successfully created a captivating pixel stretch effect using Adobe Photoshop. This technique allows you to transform ordinary images into visually striking works of art that evoke motion and energy. Remember, practice makes perfect, so don’t hesitate to experiment with different images and settings to develop your unique pixel stretch style.
Please where is the image?
Below video, under Resources