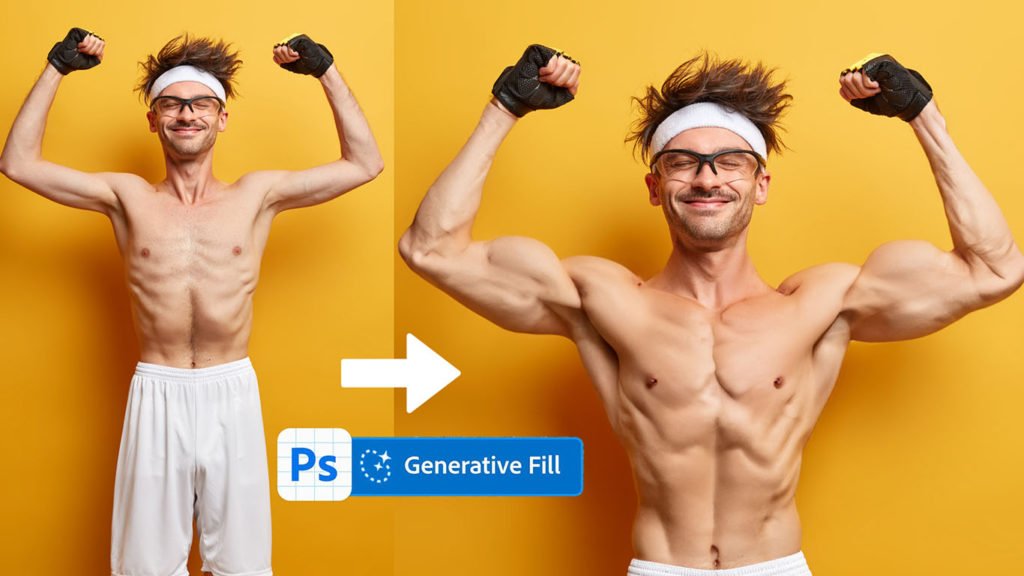
In today’s digital age, sports posters have become a captivating medium to celebrate athletic prowess and evoke the spirit of competition. Whether you’re a die-hard sports fan, an athlete, or a designer, creating a striking sports poster can be an immensely rewarding endeavor. In this step-by-step tutorial, we will guide you through the process of crafting a creative and visually engaging sports poster using Adobe Photoshop.
Resources
Pictures | Fonts 1 | Fonts 2 | Fonts 3
Step 1: Collect Your Resources
Before you dive into the design process, gather all the resources you’ll need. This includes high-resolution images of the athlete or team, logos, mascots, and any relevant graphics. Make sure these images are of high quality, as a poster’s impact heavily relies on crisp visuals.
Step 2: Set Up Your Canvas
Open Photoshop and create a new document with the desired dimensions for your poster. A standard poster size is 24×36 inches, but you can adjust this according to your preference. Set a high resolution of 300 DPI (dots per inch) to ensure your poster looks professional and sharp.
Step 3: Background and Colors
Choose a background color or image that complements the sport and evokes the desired mood. For instance, use vibrant colors for high-energy sports like basketball or soccer, and more subdued tones for serious events like golf or tennis. Consider blending the background using gradients or textures to add depth.
Step 4: Incorporate Athlete Images
Place your selected athlete images onto the canvas. Use the “Pen Tool” to create precise selections if needed. Experiment with blending modes (such as “Multiply” or “Overlay”) to seamlessly integrate the athletes into the poster’s design. Play with the placement and scale to achieve a balanced composition.
Step 5: Typography and Text
Choose fonts that resonate with the sport’s spirit and the poster’s overall theme. Start with the event’s title, using bold and attention-grabbing typography. Add player names, dates, and other relevant information using a consistent font hierarchy. Utilize text effects like shadows, gradients, or outlines to make the text pop against the background.
Step 6: Graphic Elements
Enhance your poster’s visual appeal by incorporating graphical elements such as team logos, mascots, or related icons. These elements can be strategically placed around the composition to guide the viewer’s eye and reinforce the sport’s identity.
Step 7: Dynamic Filters and Effects
Apply creative filters and effects to add dynamism to your poster. Try the “Motion Blur” filter to simulate movement or the “Gaussian Blur” to create depth of field. Experiment with layer styles like “Outer Glow” or “Bevel and Emboss” to make specific elements stand out.
Step 8: Final Adjustments
Fine-tune your poster’s overall look by adjusting color balance, saturation, and contrast. Use adjustment layers like “Curves” or “Color Lookup” to achieve the desired atmosphere. Make sure all elements are visually cohesive and nothing distracts from the main message.
Step 9: Review and Export
Take a step back and review your poster. Make sure all elements are aligned, and there are no typos or visual inconsistencies. Once you’re satisfied, save your project and export the final poster in the appropriate format, such as JPEG or PNG.
Conclusion
Crafting a captivating sports poster in Photoshop is an art that requires a balance of design skills, creativity, and an understanding of the sport’s essence. By following this step-by-step tutorial, you’ve learned how to create a dynamic and eye-catching sports poster that not only celebrates athletic excellence but also captures the excitement and spirit of the game. So go ahead, let your imagination run wild, and design posters that inspire and energize sports enthusiasts around the world.


